Download Ortho/Elevation Imagery
You can download orthophotographs or elevation images. Permission to these may vary for different users. You can select JPEG, TIFF or PNG format for the images to be downloaded.
To download vector data:
1. In the Data Center section, click Download. The Data Center page appears.
1. To open the Tools pane, from the command bar, select

.
2. From the Tools pane, select Data Center. The Data Center window appears.
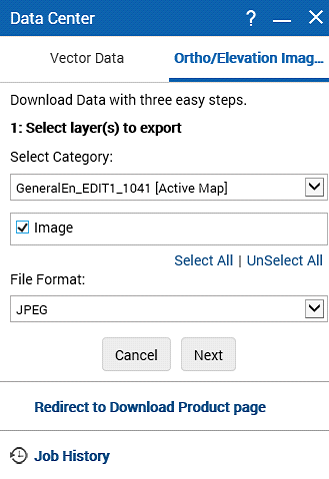
3. In the Data Center window with Vector Data tab, click on the Ortho/Elevation Imagery tab. The Ortho/Elevation Imagery tab appears.
4. From the Select Category drop-down list, select a layer category. A list of available layers of the selected category appears.
5. Select the layers to be downloaded from the list of layer names.
6. (Optional) To select all layers to download, select Select All.
7. From the File Format drop-down list, select one of the following formats for your download:
• JPEG
• TIFF
• PNG
8. Click Next. A list of options to select spatial extent appears.
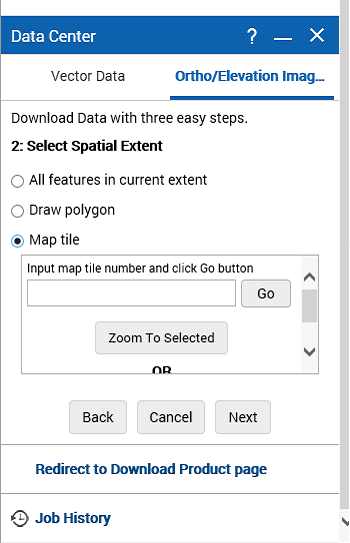
9. Select the spatial extent. The following options are available:
• All features in current extent
Select this option and click Next to include the entire area visible in the map viewer.
• Draw Polygon
Select this option and click Next to draw a polygon to define the area of interest.
• Map Tile
Select this option and click Next to define area of interest by entering a map tile number or by clicking on the map to select a tile.
10. Click Next. A list of options to select projection system appears.
11. If the Map Tile option was selected in the earlier step, ignore further steps in this procedure. The available vector data appears in the Results window that you can export. Refer to “Exporting selections” on page 241.
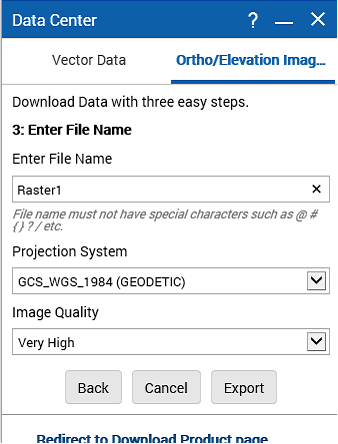
12. Enter a name for your download.
13. Select a projection system.
14. From the Image Quality drop-down list, select one of the following image qualities:
• Very High
• High
• Medium
• Low
15. Click Export. A prompt appears and informs you about the progress of your request. The progress of your task is depicted in the My Jobs window.