Dynamic Map import from Geoportal
In Geoportal you can perform a search for the map data you require and then have it added to an existing map or to a new map in OnPoint.
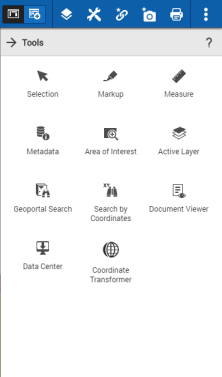
1. In the
OnPoint website, to open the
Tools pane, from the command bar, select

. The
Tools pane appears in the
OnPoint website as shown in
Figure 213 on page 275.
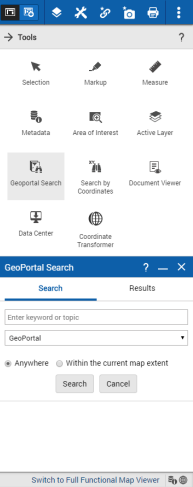
2. From the
Tools pane, click on the
Geoportal Search option. The
GeoPortal Search window appears as shown in
Figure 214 on page 276.
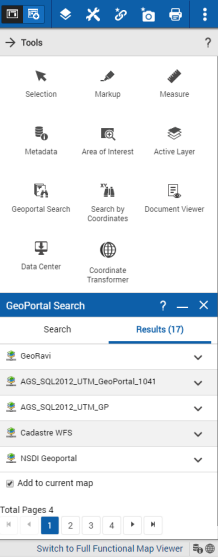
3. In
GeoPortal Search window, perform a search for the map data you require using a keyword. The searched result appear in the
Results tab of
GeoPortal Search window as shown in
Figure 215 on page 277.
NOTE: | The Add to current map option is selected by default in the Results tab of GeoPortal Search window. |
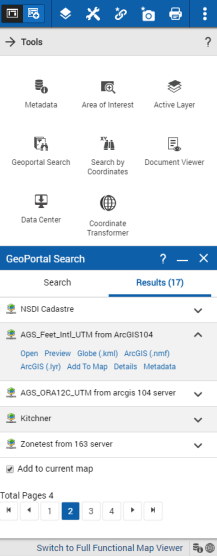
4. Click on the required map data to expand the map view to see the options as shown in
Figure 216 on page 278.
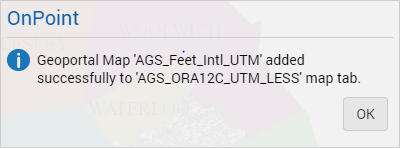
5. Click on the Add to Map link. from the expanded view of searched map. The
OnPoint dialog box appears with the
Geoportal Map added successfully message as shown in
Figure 217 on page 279.
NOTE: | Clear the Add to current map check box. If you do not clear the check box, the map data is automatically added to the current map when you click the Add to Map link for the map data. |
NOTE: | Map URL should be listed in the OnPoint Proxy.html file located in the GeoPortal Server. Below is the path for the same - C:\Program Files\Apache Software Foundation\Tomcat 7.0\webapps\geoportal\catalog\search |
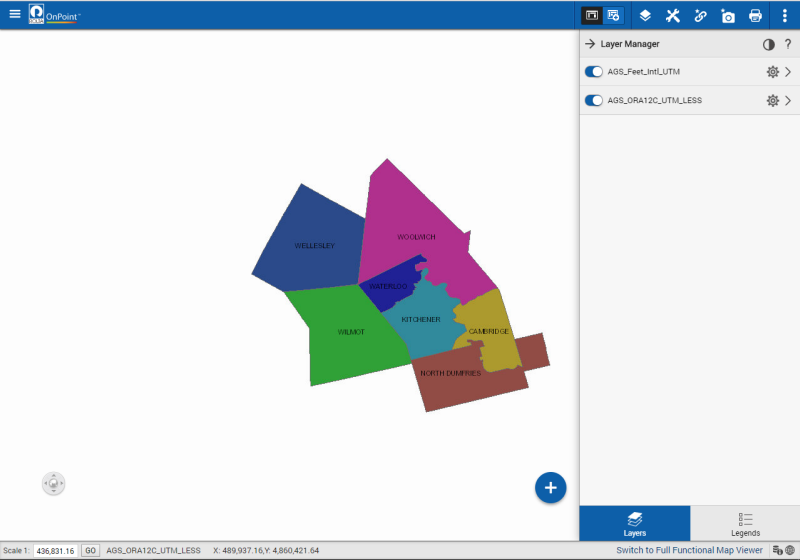
6. The added map appears in the map tab of Layers pane using Add to Current View option as shown in
Figure 218 on page 280.
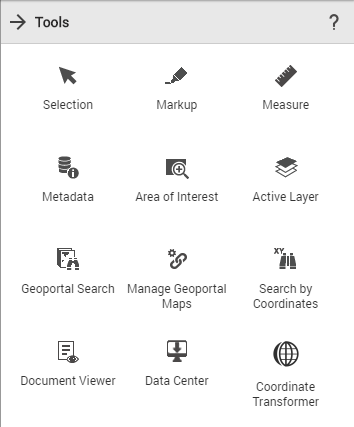
7. To open the
Tools pane, from the command bar, select
. The
Tools pane appears with the
Manage Geoportal Maps tool after adding the map as shown in
Figure 219 on page 281.
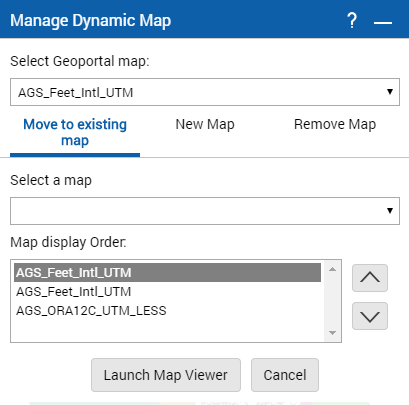
8. Click on the
Manage Geoportal Maps tool. The
Manage Dynamic Map window appears as shown in
Figure 220 on page 282.
At this point, you have the option of adding the Geoportal map data to an existing map or adding it to a new map. See one of the following subtopics:
Also, you have the option of removing the Geoportal map data.
User can also remove the Geoportal map. See the following subtopic:
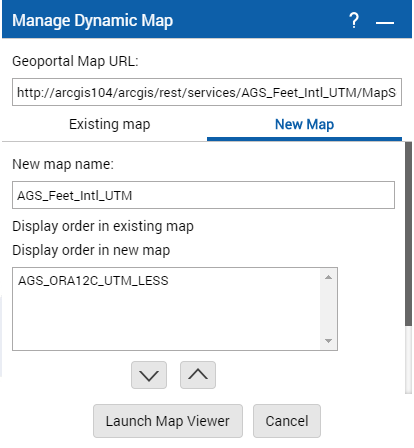
Adding Geoportal map data to a new map
By default the Move to existing Map tab is selected on the Manage Dynamic Map window. A new map is created, and the Geoportal map data will be displayed. You have the option of overlaying existing maps on the Geoportal map data in the new map or the reverse by modifying the map display order to suit your needs. See the procedure below.
1. Click on the New Map tab. In the New Map tab, in the New map name, type a name for the new map.
• By default the Geoportal map data that is about to be added to the new map is the only data entry you see in the Display order in new map list box.
2. If there is another map you want to overlay on the Geoportal map data or which you want the Geoportal map data to be superimposed on, select that map in the Display order in existing map list box.
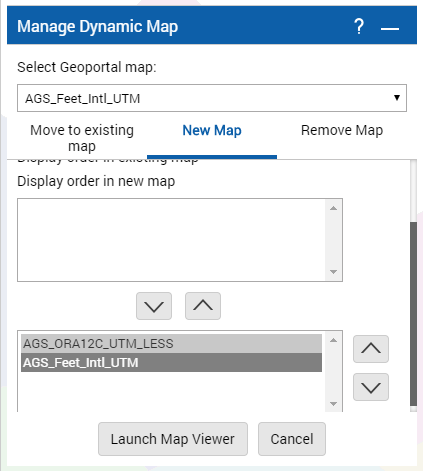
3. Select the map in the "Display Order in existing map" option and click on the downward-pointing arrow

to add the selected map to the new map in the "Display order in new map" list and use the Up

OR Down
arrows to change the order display.
4. Once you are satisfied with the display order of the maps, click the Launch Map Viewer button to view them in OnPoint in a new map.
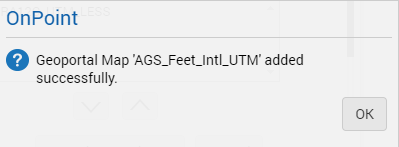
• The order in which maps are listed is the same order in which they are overlaid on each other when they are displayed online. The topmost entry is overlaid on the next map in the list and so on. The OnPoint dialog box appears with the Geoportal map added successfully message. .
NOTE: | If a map you are positioning on top of another is not transparent, it will obscure the map beneath. The onus is on you to know whether or not the map is transparent. |
• In the OnPoint dialog box with the Geoportal map added successfully message, click OK.
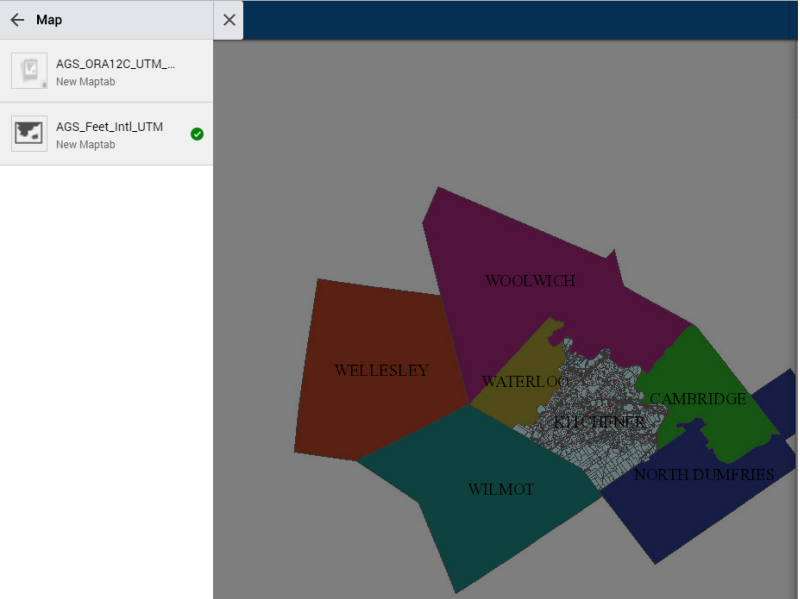
• A new map with the newly selected Geoportal map will be added. The added Geoportal map can be viewed in a newly added map tab.
Adding Geoportal map data to an existing map
In this procedure, you add the Geoportal map data to an existing map in OnPoint. You have the option of overlaying existing maps on the Geoportal map data or vice versa by modifying the map display order to suit your needs. See the procedure below.
1. Click on the
Existing map tab. The
Manage Dynamic Maps window appears with the
Move to existing map tab as shown in
Figure 220 on page 282.
2. In the Select a map drop-down list, select the map to which you want to add Geoportal map data.
3. In Map display order, the order in which the maps are listed is the same order in which they are overlaid on each other when they are displayed online. If you want to change the order, select a map and then move it using the Up or Down buttons until you are satisfied with the map display order
NOTE: | If a map you are positioning on top of another is not transparent, it will obscure the map beneath. The onus is on you to know whether or not the map is transparent. |
4. Click the Launch Map Viewer button to view the Geoportal data in the map you selected.
Remove Particular Geoportal map data
In this procedure, you can remove the particular Geoportal map data in OnPoint. See the procedure below.
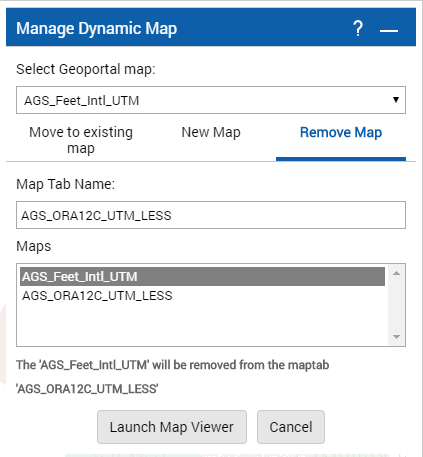
1. Click on the
Remove Map tab. The
Manage Dynamic Maps window appears with the
Remove Map tab as shown in
Figure 227 on page 290.
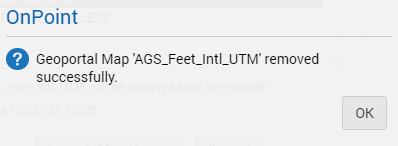
• From the Maps list select the appropriate map and click the Launch Map Viewer button to remove the Geoportal data in the map you selected. The OnPoint dialog box appears with the Geoportal map removed successfully message
2. In the
OnPoint dialog box with the
Geoportal map removed successfully message, click
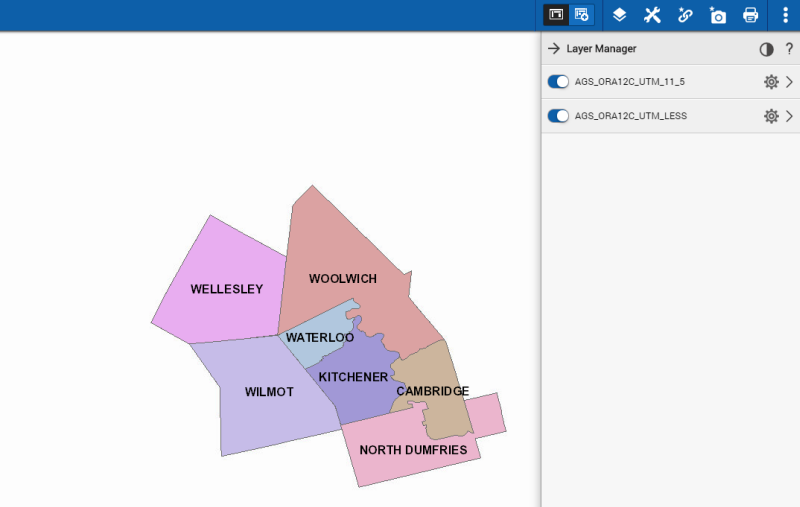
OK.The Geoportal map gets removed from the list of
Layers Manager pane as shown in
Figure 229 on page 292.