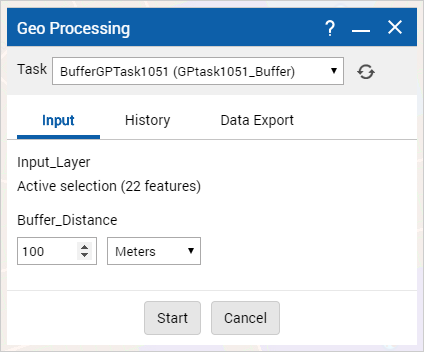
• On the command bar, select  and then select a task from the Task sub-menu from the left pane. The Geo Processing dialog box appears.
 |
 |
Icon | Icon name | Description |
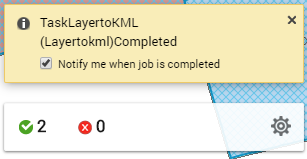
Completed Successfully | Shows the number of jobs that have finished processing. | |
Failed | Shows the number of jobs that failed during the processing stage. | |
Options | Makes a list box appear with these options: Refresh • Select this option to refresh the My Jobs window. History • Select this option to view the Job History window where you can use date range filters to find jobs that have been started within a time period of your choice. Notify me when job is started • This option is enabled by default. If you start a job for this task, a message appears above the My Jobs window to inform you when the job has started. Notify me when job is finished This option is enabled by default. If you start a job for this task, a message appears above the My Jobs window to inform you when the job has finished. |
NOTE: | If you have generated jobs while not logged in to the application, the task history is not saved and you will not be able to view previous tasks after you close the browser window. For more information on viewing task history, see “Viewing previous task results” on page 243. |