Printing maps
You can print the map area with or without selections you make on the map either in a portrait or landscape orientation.
For more information about selections, see
Selecting features on the map. To be able to print a map using more advanced print options, see
Printing a map using the Cartographic Map print template.
1. Adjust the map viewer to display only the area you want to print.
2. In the Command bar, select the
Print button

. The Print window appears and displays an interactive template of the map that is to be printed.
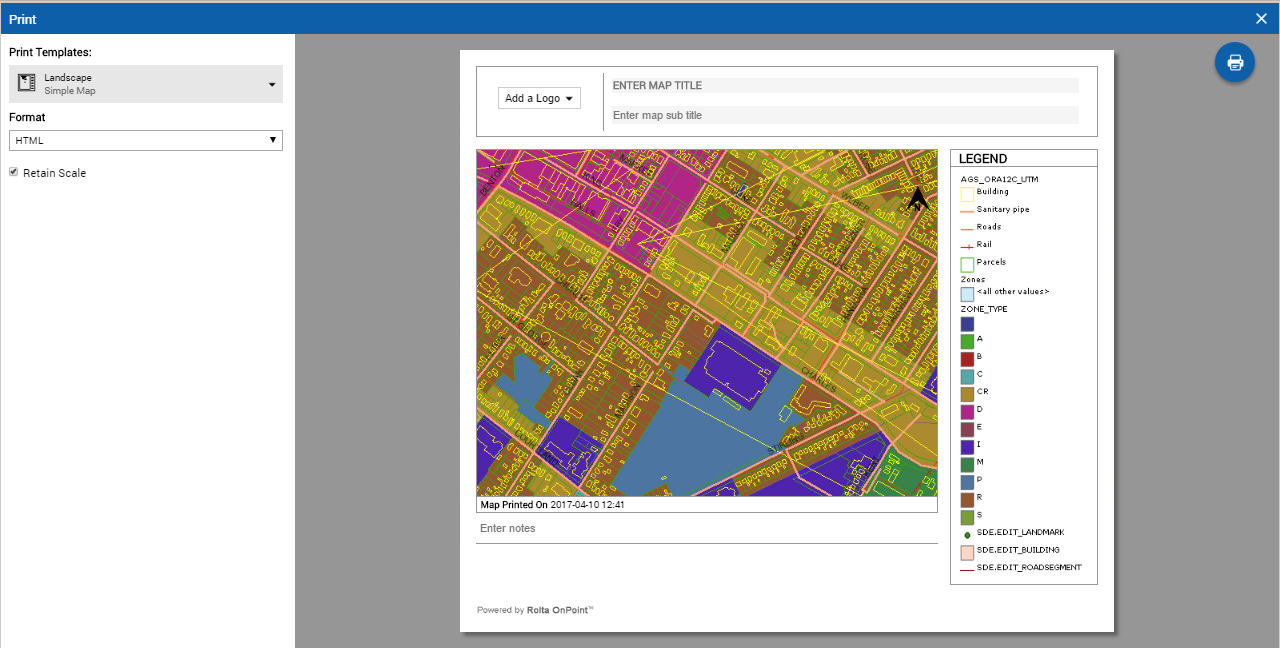
3. From the Print Templates field, select the map type and page orientation.
The Simple Map option prints only the map and Map with Selections includes any selections you have made.
4. In the Format field, select either HTML or PDF. An HTML map appears in a browser application while a PDF map appears with a PDF-reader application. This applicable application must be installed before you can print the map.
5. Select the Retain Scale check box to keep the map scale as it is currently displaying.
6. To include a logo in the printout, select Add Logo and do one of the following:
• To browse and select an image, select Upload Image and then select Open.
• To use an image from your organization’s gallery of logos, select Choose from Library, then select an image, and then select Open.
7. In the Print window, enter the title, subtitle and comments.
8. Select the Print button.