Using thematic mapping
Thematic mapping is the ability to assign distinguishing colors or symbols to map features according to the value of that feature to help you recognize patterns or trends. For example, a thematic mapping pattern could show population density by colors that are assigned to different population ranges. When the pattern is applied to the map, you could easily see the most and least populated areas according to the colors on the map. You can create, edit and apply themes on a map that is set up to use thematic mapping.
You can create three types of themes on a map:
NOTE: | Themes can only be saved if security has been enabled and you have used your user account to log in. |
Creating a simple theme
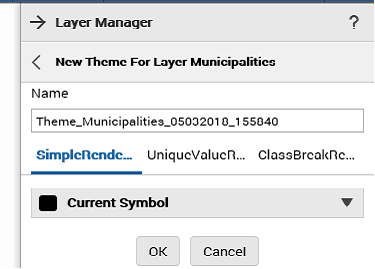
A simple theme applies the same color to all features in the feature group identically. For example, if you want to show all buildings on the map, you could create a simple theme for buildings and all buildings will display with the selected color.
1. If the Map tools pane is not expanded, in the map viewer, click the Map Tools button.
2. On the Map Tools pane, click the More Tools button and then select Thematic Mapping.
3. In the Manage Theme dialog box, in the Layer list, select the layer where you want to apply a new theme.
4. Click New Theme. The Themes dialog box opens with the simple theme type enabled by default and an automatically generated name in the Name field.
5. In the Name field, specify a name for the simple theme you want to create.
6. If security is enabled, the Public check box is available so you can make this theme available to all users. Do not select the check box if you want this theme to be private (only accessible to you and the map administrator).
NOTE: | Themes that are public are available to all users and are labeled with an asterisk. The Public check box is only available to users who have logged in with a user account. |
8. When finished, click OK to load the simple theme on the map.
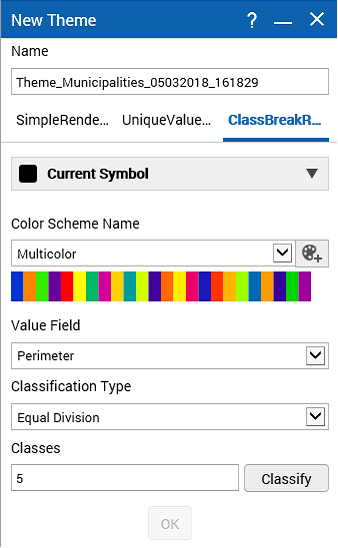
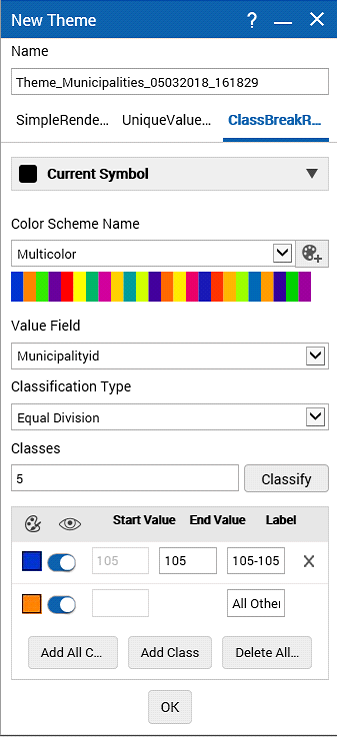
Creating a class break theme
A class break theme displays all values within a range (or class) with a single color or symbol. This type of theme can only use numeric values so different ranges can be defined (class breaks).
1. If the Map tools pane is not expanded, in the map viewer, click the Map Tools button.
2. On the Map Tools pane, click the More Tools button and then Thematic Mapping. The Manage Theme window opens.
3. Click New Theme. The Themes dialog box opens.
4. In the Name field, enter a name for the class break theme. A default name is automatically generated.
5. If security is enabled, the Public check box is available so you can make this theme available to all users. Do not select the check box if you want this theme to be private.
NOTE: | Themes that are public, that is, that are available to all users whether they have logged in or not, are labeled with an asterisk. The Public check box is only available to users who have logged in with a user account. |
6. Select the Classes option.
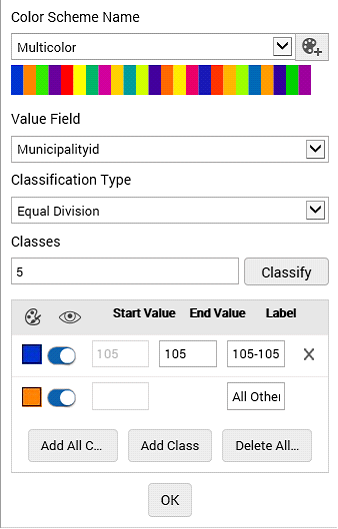
7. In Value Field, select the type of data to display on the map.
8. In the Classification Type field, select an option that defines how the data will be divided. You have the following options:
9. In the Classes field, specify the number of classes and click the Classify button. A maximum number of classes may have been defined by the map administrator.
When you click Classify, a default data range is used but you have the option of ignoring this default setting by clicking the Add All Classes button.
10. In the Color Scheme section, select from one of the defined color schemes in the
Name field. To create or edit a color scheme, click the Edit button

.
The following fields are available in the Color Scheme section:
The following buttons are available in the Theme dialog box:
12. When finished, click OK to display the class break theme on the map.
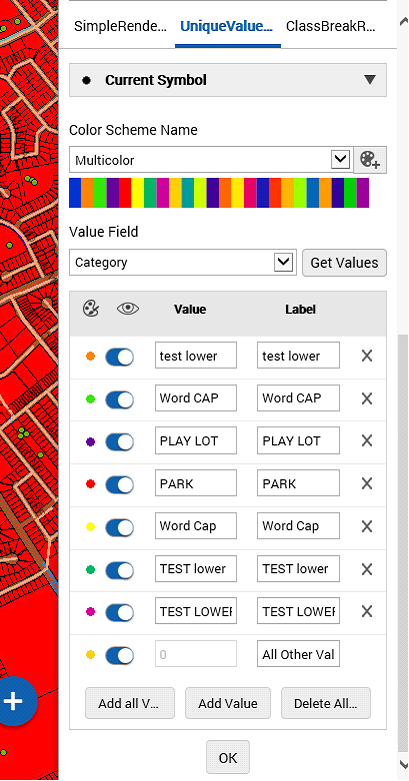
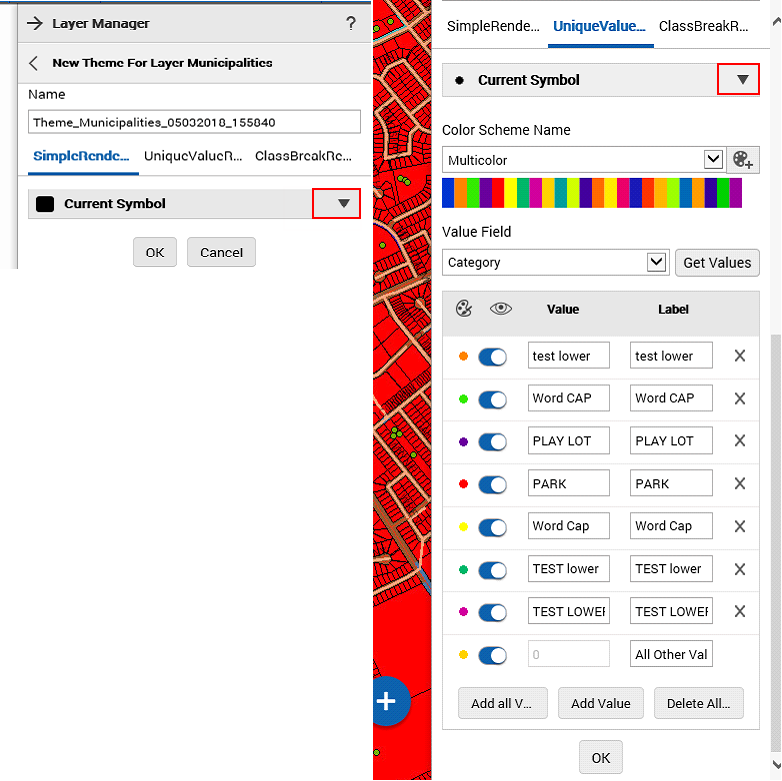
Creating a unique value theme
A unique value theme displays every value with a different color. This type of theme works well to show features that share the same value, such as a building category.
1. If the Map Tools pane is not expanded, in the map viewer, click the Map Tools button.
2. On the Map Tools pane, click the More Tools button and then select Thematic Mapping.
3. Select the layer where you want to add a new theme.
4. Select New Theme. The Themes dialog box opens with an automatically generated theme name.
5. In the Name field, specify a name for the unique value theme.
6. If security is enabled, the Public check box is available so you can make this theme available to all users. Do not select the check box if you want this theme to be private.
NOTE: | Themes that are public, that is, that are available to all users whether they have logged in or not, are labeled with an asterisk. The Public check box is only available to users who have logged in with a user account. |
7. Select Unique Values as the type of theme.
8. In Value Field, select the type of data to display on the map and click Get Values. This retrieves the values for the feature type you selected.
9. In the Color Scheme section, select a color scheme in the
Name field. If you want to create or edit a color scheme, click the Edit button
. If you want to change the default symbol or color for this theme, see
“Selecting symbols for your theme” on page 201 for more information.
The following fields are available in the Color Scheme section:
10. To add a value manually, click the Add Value button and specify the value, the label and default base symbol.
11. When finished, click OK to display the unique value theme on the map.
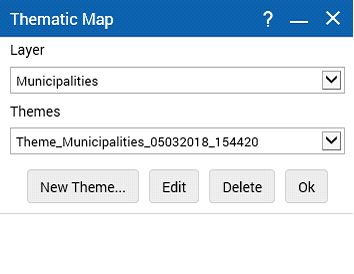
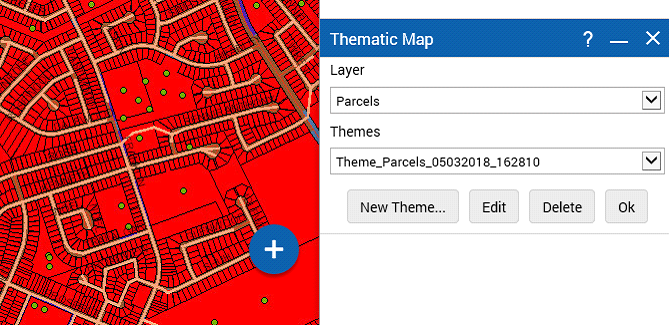
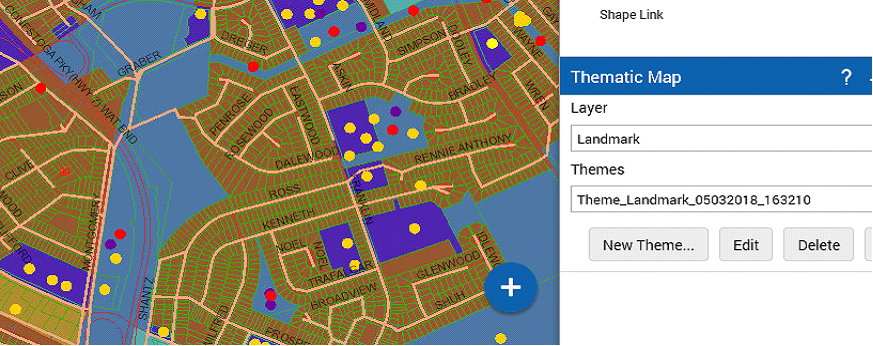
Selecting a theme
You can only select a previously saved theme if security is enabled and you logged in using your user account. If you did not log in when you created the mapping theme, it will not be saved when you close your browser.
1. Log in to the map viewer.
2. Click the Map Content and Legend button in the upper left corner of the map viewer. The Map Content and Legend pane opens.
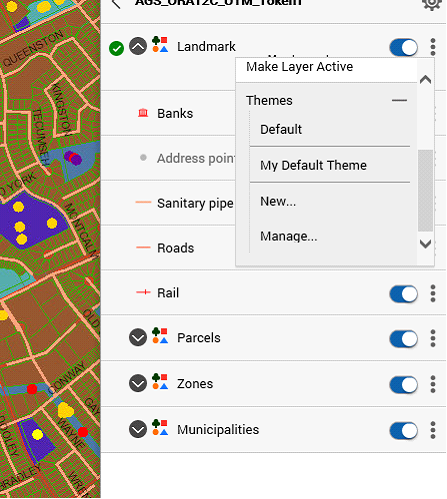
3. In the Layers tab, click the Layer Options button for a layer for which themes have been saved.
4. In the Layer Options drop-down list, select Theme, and then select the theme name.
Selecting symbols for your theme
A default symbol is available when you create a theme, but you have the option of selecting a different symbol. In themes using unique values or class breaks, you have the option of selecting symbols for each unique value or class. The symbols available to choose from are provided by the map administrator.
1. Click the Map Content and Legend button in the upper left corner of the map viewer.
2. In the Layers tab, click the Layer Options button for a layer for which themes have been saved.
3. In the Layer Options drop-down list, click Themes and then click Manage.
4. In the Manage Theme dialog box, select the theme for which you want to select a different symbol.
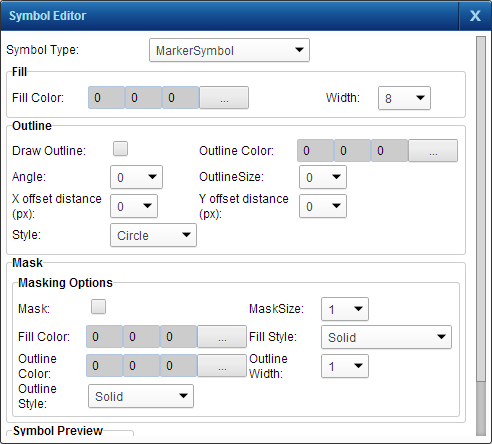
5. Click the Edit button. Depending on the type of theme, the symbols or color can be accessed from Current Symbol, Base Symbol or Preview in the Themes dialog box.
For Simple Themes
a. In the
Current Symbol field, click the Edit button
to open the Symbol Editor dialog box. If you want to change the map symbol or color, select a different type in the
Symbol Type field. The remaining options depend on the type of symbol selected. The symbol and its formatting options you select are used to represent all features in the layer to which the theme belongs.
For Unique Value or Class Break Themes
The Symbol Editor can be accessed from either the Base Symbol field or from the Preview column for each symbol or color in the lower portion of the Theme dialog box:
• If you access the Symbol Editor from Base Symbol, the symbol you select is used as a base shape to represent all features in the theme.
• If you access the Symbol Editor from the Preview column, the symbol and formatting options you select only apply to the unique value or the class.
b. In the Symbol Editor, select a symbol type in the Symbol Type field. The configurable options available depend on the symbol type you have selected.
c. Continue and configure the symbol in the Symbol Editor.
6. Click Preview to view the symbol. Click Apply to save the symbol and its formatting.
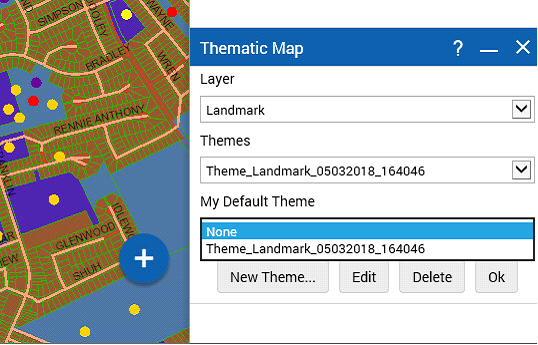
Setting a theme as your default theme
If security is enabled for the map, you can save themes to be reused at a later time. For saved themes, you can specify one theme as My Default Theme so it can be quickly loaded from the right-click menu for the feature type in the Map Content window.
NOTE: | The My Default Theme setting is not the same as the Default option in the Theme field. Selecting Default from the Theme field removes any themes that were applied and returns the map to its original state. |
1. If the Map Tools pane is not expanded, in the map viewer, click the Map Tools button.
2. On the Map Tools pane, click the More Tools button and then select Thematic Mapping. The Manage Theme dialog box appears.
3. In the My Default Theme field, select a previously saved theme.
4. Click OK.
After saving the theme as your default theme, you can load it from the Map Content and Legend pane by clicking the Layer Options button for the feature type and then selecting Themes and My Default.