Using the Measure tool
The Measure tool lets you either determine distance by drawing a line, or determine area by drawing a polygon, circle or rectangle, or determine position by placing point.
1. To open the Tools pane, from the command bar, select

.
2. From the Tools pane, select Measure.
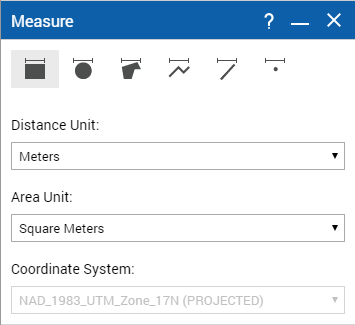
3. In the Distance Unit field, select the unit for measuring distance from the list. By default, meters is selected as the unit for measuring distance.
4. In the Area Unit field, select the unit for measuring area from the list. By default, square meters is selected as the unit for measuring area. You can select the Map tab Coordinate System link to view information about the coordinate system used by the map.
5. In the Coordinate System drop-down list, select the coordinate system that is appropriate for the area where you are about to perform a measurement.
• See your map administrator if in doubt about the coordinate system that will yield accurate measurements for the area where you want to measure.
NOTE: | Whether or not there are coordinate systems to choose from in Coordinate System depends on how the map administrator configured the Measure tool. It may happen that there is only one. Hover over the Coordinates icon  in the lower right corner of the map viewer to view the coordinate system used for the map, the measure tool and display coordinates. |
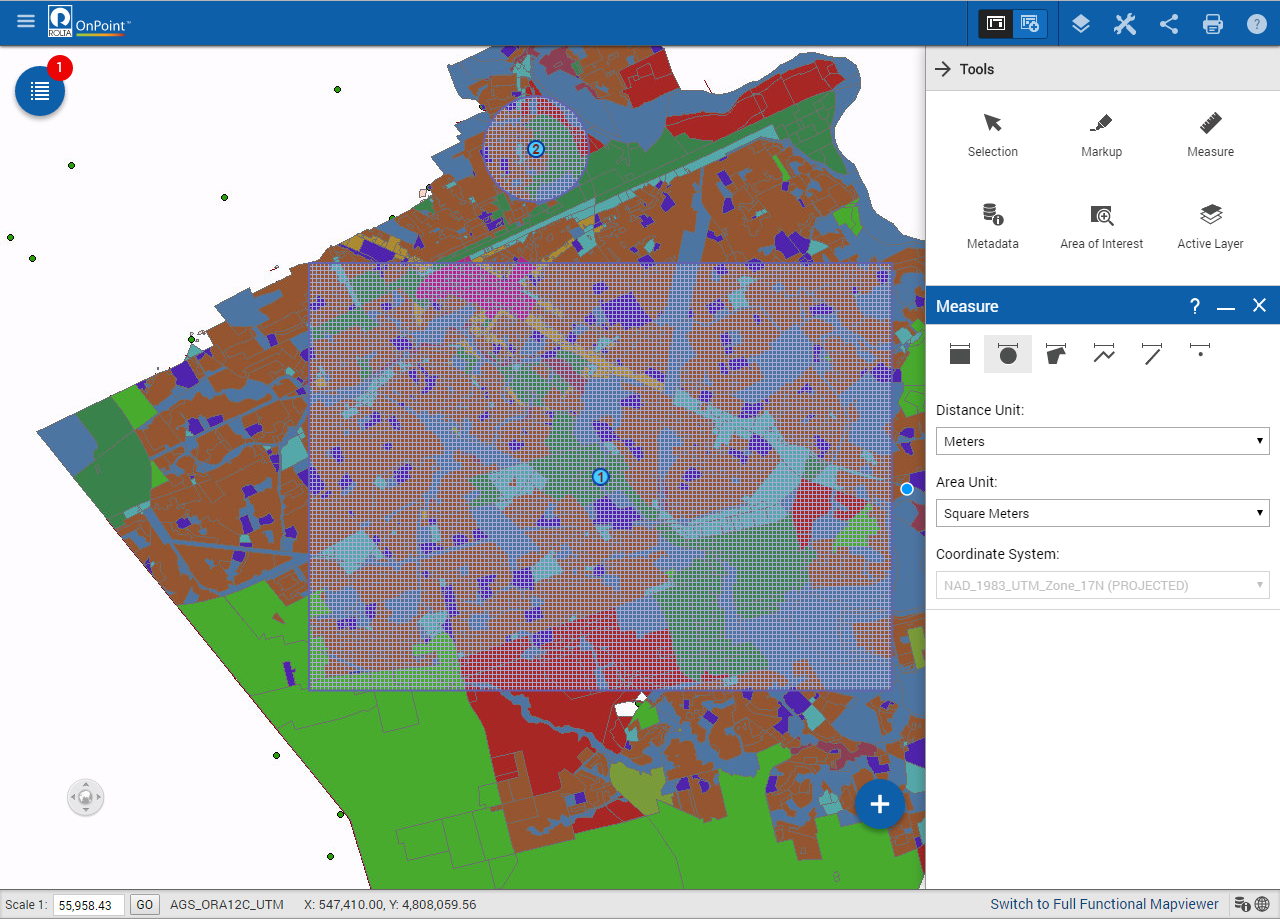
6. Select one of the following tools:
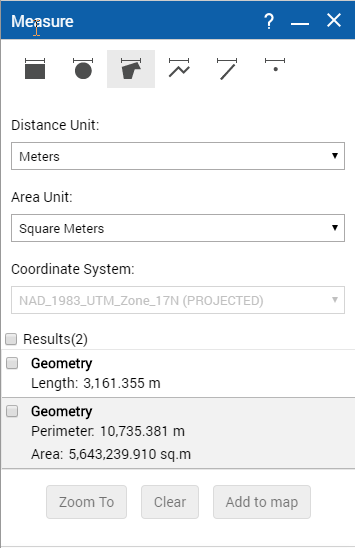
7. Using the tool, draw or select an area on the map.
After you draw a shape on the map, the information about the shape is displayed in the Measure dialog box. You can draw multiple shapes on the map and add, remove, or zoom in to these shapes using the Measure dialog box.
8. (Optional) Select the
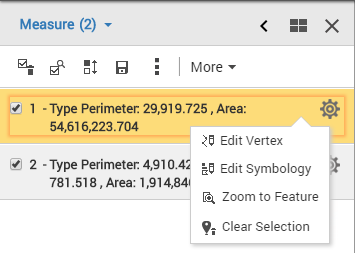
Add to map button to add the selected item to the map. After adding these shapes to the map, these shapes are displayed in the Results window. Using the Results window, you can then perform additional actions on these shapes. For more information on using the Results window, see
“Using the Results window”.
9. (Optional) Select the Clear button to remove the selected items from the map.
10. (Optional) Select the Zoom To button to zoom in to the selected items on the map.