Using the Results window
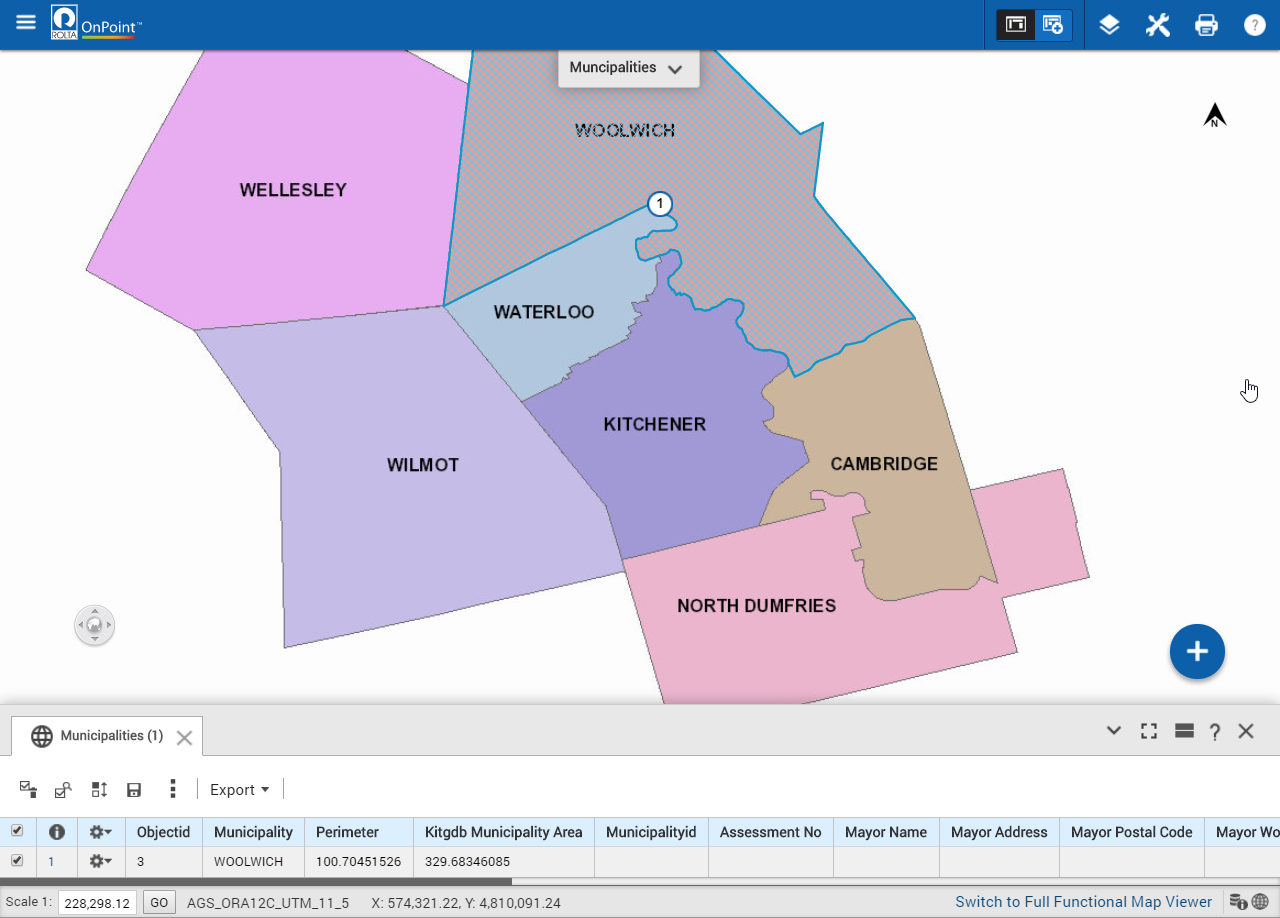
The Results windows appear as a list view in the left pane by default. But on the desktop, you can choose to display it as a grid view in the bottom of the map viewer. The grid view feature is not available on mobile devices. In the list view, an attribute of the selected features is configured by the administrator to be displayed as the sub-menu that needs to be selected to view more attributes and values of the same feature.
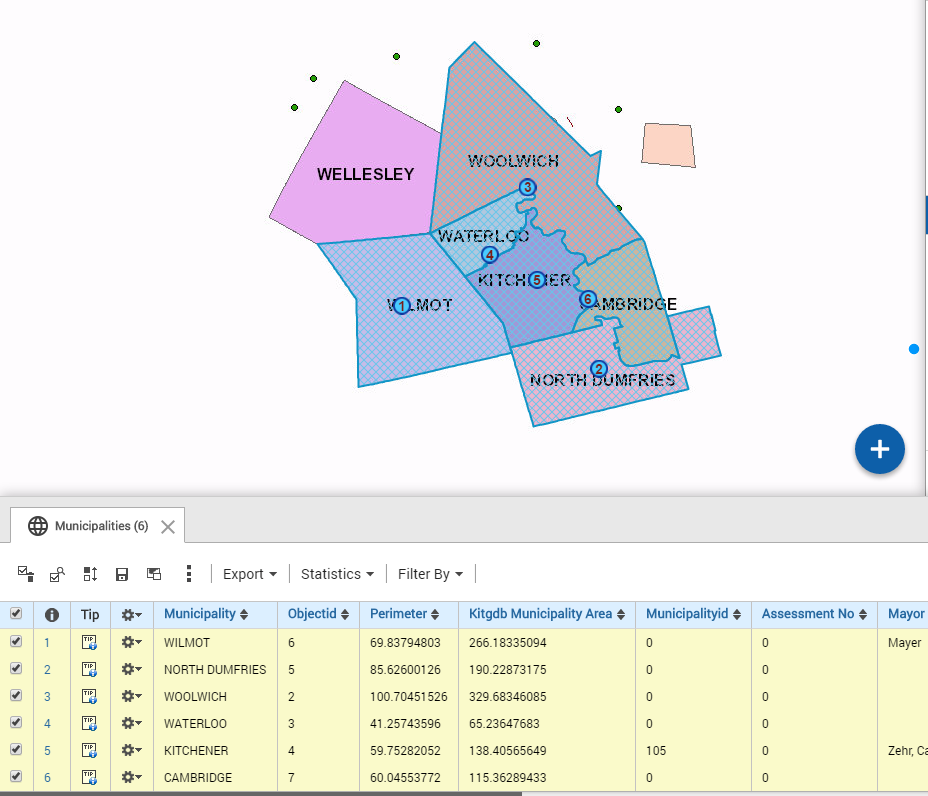
In the grid view, the results are returned in a grid, with each selected feature occupying a row and each attribute occupying each column.
Additional tools are available to you on the Results window. You can also access some of them by selecting the More drop-down menu

. In addition, you can access record-related tools using the Other Options button

for the record. As the tools in the Results window are configurable by the administrator, you will only be able to view the tools configured for your role. See their descriptions below in
Table 8. In addition, the availability of a tool depends on your mode of access (basic/advanced). For more information on basic/advanced tools, see
“Basic/Advanced Mode”The height of the Results window changes as per the records displayed. If the results returned are less than 10, the Results window occupies less space. Also, when the user moves the mouse out of the result grid the result grid becomes translucent.
For more information on selecting items on the map, see
“Selecting features on the map”.
Highlighting results related to the currently displayed map features
After performing a search or selection, select the Highlight tool in the upper left of the Results window to highlight the data entries on the Results window related to the features currently displayed on the map. The Results window refreshes and sorts the data entries so that those belonging to the currently displayed map features are near the top of the window.
Viewing reports in the Results window
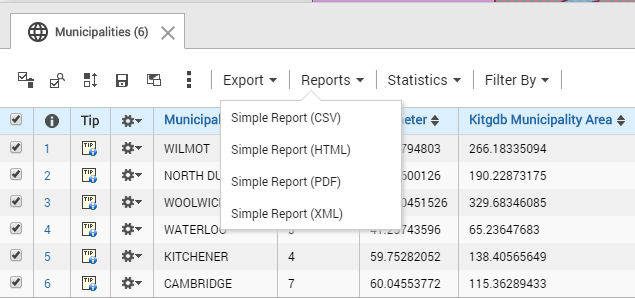
In the Results window in grid view, select the Reports drop-down menu. Note that the grid view is available only on desktops.
In the Results window in list view, select More and scroll to Reports.
Select the report name to run the report using the data displaying in the window. For more information on the types of reports available, see
“Viewing reports”.
NOTE: | Reports can also be configured to display from the More Information dialog box. |
Choosing the display mode of the Results window
You can maximize or minimize the Results window to change its display mode.
In the grid view, select

to maximize or

to minimize the Results window.
In the list view, select

to minimize, and

to maximize the Results window.
Using search results for a secondary search in the Results window
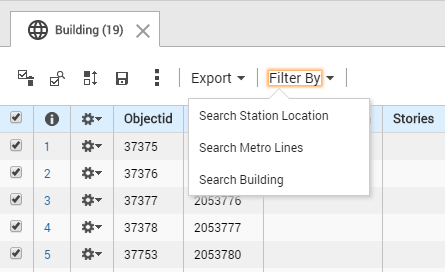
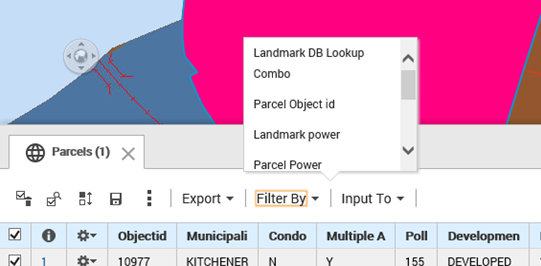
Searches can be used either to further narrow results from previous searches/selections or to use the results of one search/selection as the criteria for a second search. If configured, two buttons are available in the heading bar of the Results window. In the heading bar of the Results window, select the Filter By button and select the secondary search you want to run.
Filter By
• This option lets you run a new search to further refine or narrow the number of items in the Results window.
Example 1: Using a shopping center search/bank search
• If you have a list of shopping centers in the Results window, you could use a new search to find all banks that are within 500 meters of those shopping centers. The shopping center list would be further reduced to only include those centers that fit the bank distance criteria.
Example 2: Using a shopping center search/community search:
• If you have a list of shopping centers in the Results window, you could use a community search to only show the shopping centers that are within a selected community.
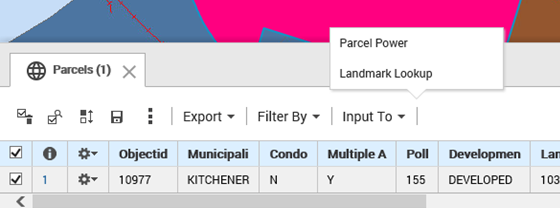
Input To
• This option allows you to run a search and use the items currently in the Results window as criteria for this new search.
Example 1: Using a shopping center search/bank search:
• If you have a list of shopping centers in the Results window, you could run a new search to find all banks that are within 500 meters of those shopping centers. Only those banks that fit the distance criteria to the shopping centers would show in the Results window.
Example 2: Using a shopping center search/community search:
• If you have a list of shopping centers in the Results window, you could use a community search to show only those communities that have the listed shopping centers.
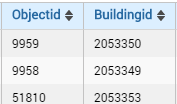
Sorting results in the Results window
You can sort data by each column of data in ascending or descending order in the Results window if a double-arrow icon displays in the column header.
• In the Results window, select the column header whose data you want to sort. The data is then listed according to the order of that column.
Moving through different pages in the Results window
When the list of selected items appears, either the total number of pages or the total number of items are displayed (depending on the selection window type). Only the items selected on the first page correspond to a number on the map. Select the page numbers at the top of the window to move to that page.